Vanilla Muffins: 5 Easy Steps to Make Moist, Fluffy Muffins with Oil
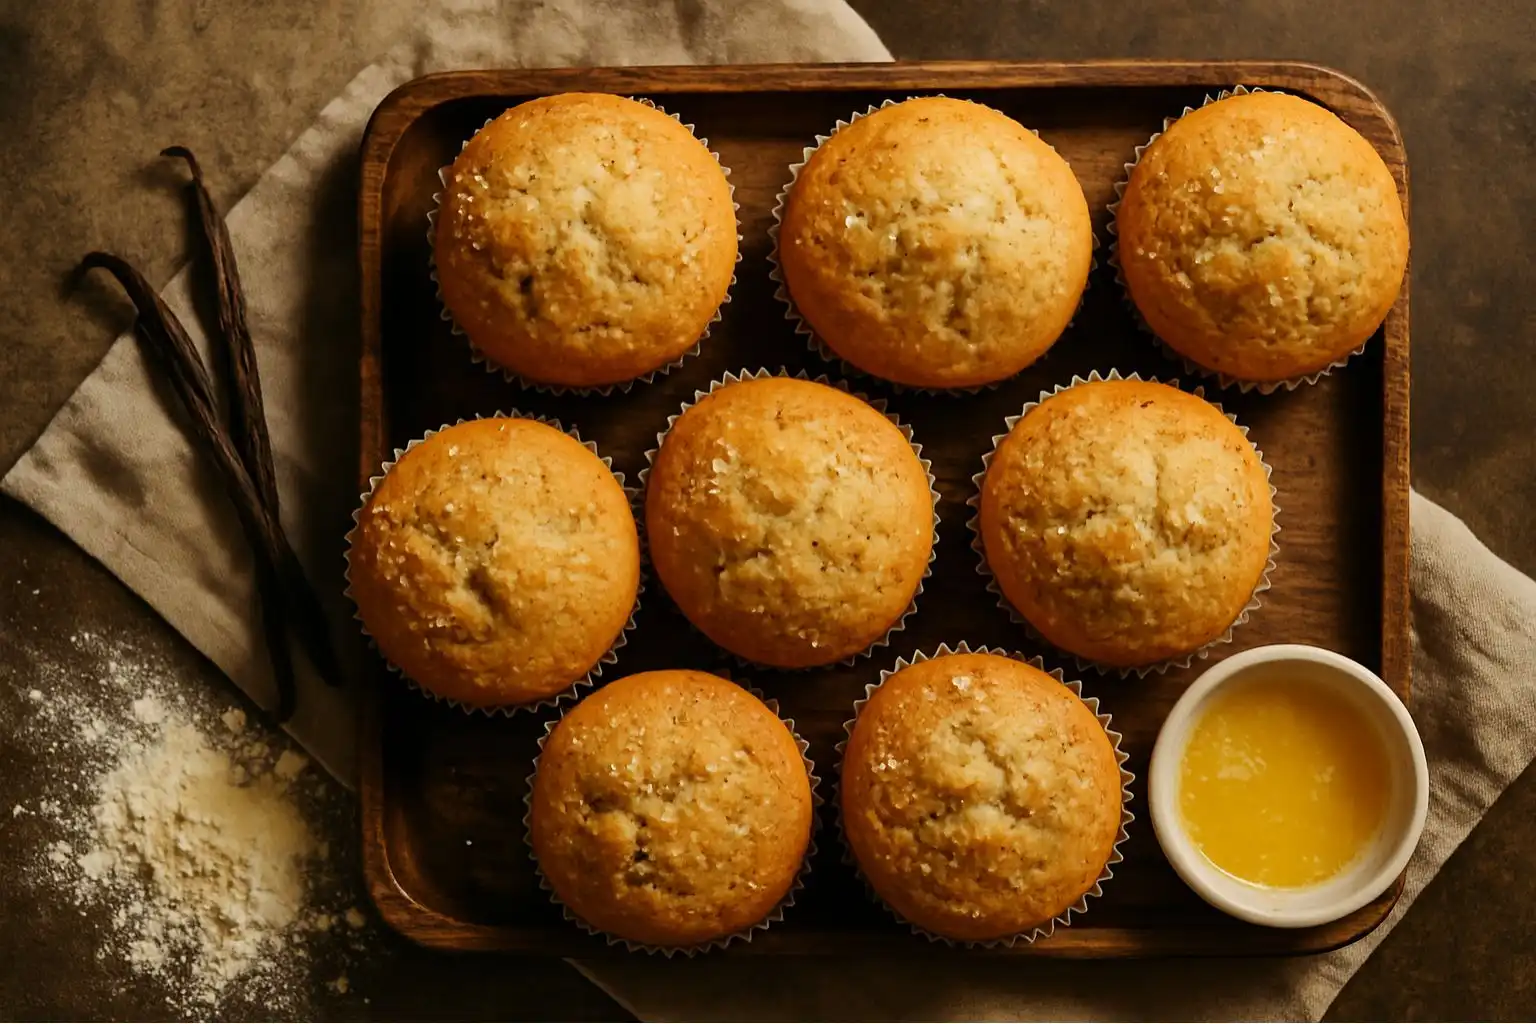
Let’s talk about a little baking secret: oil is the magic key to unbelievably moist vanilla muffins! You might be thinking, “Butter tastes better, right?” Sometimes, yes! But when it comes to keeping your vanilla muffins soft, tender, and delicious for days, oil wins the prize. Here’s why, super simply:
Think about flour. It has tiny proteins that can make things tough if you work them too much (that’s gluten!). Oil coats those proteins gently, like a cozy blanket. Butter has water in it, which actually wakes those proteins up and can make muffins a bit tougher. Oil keeps things relaxed, giving you that perfect, melt-in-your-mouth crumb.
Plus, using oil is SO much easier! No waiting for butter to soften. No tricky creaming step. Just measure, pour, and mix. It means your vanilla muffins will turn out moist and perfect every single time. And guess what? They stay fresh and yummy longer than muffins made with butter. The pure, sweet taste of vanilla really gets to shine through without any competition. Trust me, after one bite of these super moist vanilla muffins, you’ll be an oil believer!
Table of Contents
Gather Your Ingredients & Tools
Getting ready is half the battle! Let’s round up everything you need for perfect vanilla muffins. Having it all out on the counter makes baking feel like a breeze.
Ingredients for Perfect Vanilla Muffins
Here’s your shopping list for amazing homemade vanilla muffins:
- Dry Team:
- All-purpose flour (The trusty base!)
- Granulated sugar (For sweetness and golden tops)
- Baking powder (Our rising star!)
- Salt (Just a pinch to make everything taste better)
- Wet Team:
- Neutral oil (Vegetable, canola, or grapeseed work best. This is our moisture hero!)
- Large eggs (Bring them out early so they aren’t cold!)
- Milk (Dairy milk or your favorite plant-based milk like almond or oat)
- Pure vanilla extract (The star flavor! Don’t skimp!)
- Superstar Extras (Optional but Awesome):
- Vanilla bean paste (Scrape some seeds in for extra vanilla power and pretty speckles!)
- Coarse sugar (Sprinkle on top before baking for a sweet, crunchy finish)
Essential Baking Tools
You probably have most of this already! Here’s your toolkit:
- A standard 12-cup muffin tin (The home for our vanilla muffins!)
- Paper muffin liners or non-stick cooking spray (To prevent sticking)
- Two large mixing bowls (One for dry stuff, one for wet stuff)
- A sturdy whisk (For mixing things smooth)
- A rubber spatula (For gentle folding and scraping every last bit of batter)
- Measuring cups and spoons (Accuracy counts for baking success)
- A wire cooling rack (Crucial for letting your muffins cool properly)
Your 5 Easy Steps to Moist Vanilla Muffin Perfection
Ready to bake the best vanilla muffins ever? These 5 simple steps are all you need! Follow along for muffin magic.
Step 1: Prep & Preheat for Success
Getting your kitchen ready is super important for perfect vanilla muffins!
- Turn on Your Oven: Crank it up to 375°F (190°C). Let it heat up fully while you mix – a hot oven gives our muffins a great rise.
- Prepare Your Muffin Tin: Line all 12 cups with paper liners. No liners? Give each cup a good spray with non-stick spray. This stops sticking!
- Check Your Ingredients: Take your eggs and milk out of the fridge about 30 minutes before starting. Room temperature ingredients mix together much better with the oil, making your vanilla muffins extra smooth and even. Cold stuff can make the oil clump a bit.
Step 2: Combine Dry Ingredients Thoroughly
Time to mix the dry team! Grab one of your large bowls.
- Dump the Dry Goods: Add the flour, sugar, baking powder, and salt right into the bowl.
- Whisk it Well: Pick up your whisk and stir everything together really well. Keep whisking for about 30 seconds. Why? This mixes everything perfectly and adds a little air, which helps make your vanilla muffins light and fluffy. No lumps allowed here! This step is key for an even texture in every bite.
Step 3: Whisk Wet Ingredients Smoothly
Now, let’s mix the wet team in the other large bowl. This is easy!
- Combine the Liquids: Pour in the oil, crack in the eggs, add the milk, and measure in that wonderful pure vanilla extract. If you’re using vanilla bean paste, add it now too!
- Gentle Whisking: Use your whisk again. Stir everything together just until it looks smooth and the eggs are completely mixed in. See those streaks disappear? Stop mixing! Important: Don’t go crazy whisking here. Just mix until combined. Over-mixing now can lead to tough vanilla muffins later. Easy does it!
Step 4: Gently Fold Wet into Dry
This is the most important step for tender, moist vanilla muffins! Be gentle.
- Pour Wet into Dry: Take your bowl of wet ingredients and pour it right into the bowl with the dry ingredients.
- Fold, Don’t Beat!: Grab your rubber spatula. Instead of stirring hard, use a gentle folding motion. Imagine you’re carefully turning the batter over from the bottom of the bowl up to the top. Go around the bowl and through the middle. Crucial Tip: Stop mixing as soon as you don’t see big streaks of dry flour. The batter will look lumpy and maybe a little uneven – THAT’S PERFECT! Seriously, lumps are your friend here. Over-mixing wakes up the flour’s gluten and makes muffins tough. Fold just until barely combined.
Step 5: Fill, Bake & Cool Like a Pro
Almost done! Time to get these vanilla beauties baking.
- Fill the Cups: Use a spoon or an ice cream scoop to divide the batter evenly between the 12 muffin cups. Fill each cup about 3/4 full. This leaves room for them to rise into perfect domes! Don’t overfill.
- Add Sparkle (Optional): Love a crunchy top? Sprinkle a little coarse sugar over each muffin now. It adds a lovely texture and shine.
- Bake Time!: Carefully slide the muffin tin into your preheated oven. Bake for 18 to 22 minutes. How do you know when your moist vanilla muffins are done?
- The tops turn a beautiful golden brown.
- They spring back lightly when you gently press the center with your fingertip.
- A toothpick poked into the center of a muffin comes out clean or with just a few moist crumbs clinging to it (no wet batter!).
- Cool Down: This step is vital for texture! When the muffins are done, take the tin out of the oven. Let them sit in the tin for just 5 minutes. Then, carefully lift them out (liners help!) and place them on your wire rack to cool completely. Why? If they stay in the hot tin too long, they start to steam and get soggy bottoms. Cooling on the rack lets air circulate, keeping them perfectly moist and delicious.
Pro Tips for the Best Vanilla Muffins Ever
Want bakery-quality vanilla muffins right at home? These simple tricks make all the difference:
- Vanilla Powerhouse: That bottle of imitation vanilla? Leave it in the cupboard! For truly amazing flavor, use pure vanilla extract. It costs a bit more but tastes SO much better. For an extra vanilla punch and pretty speckles, try adding 1 teaspoon of vanilla bean paste along with the extract. Your vanilla muffins will taste incredible!
- Don’t Overmix! (Yes, Again!): This is the #1 reason muffins turn out tough. Remember Step 4? Fold that batter just until the dry ingredients disappear. Lumpy batter = light, tender moist vanilla muffins. Smooth batter = hockey pucks. Be gentle!
- Room Temperature Rules: We mentioned it in Step 1, but it’s worth repeating. Cold eggs and milk don’t blend well with oil and can make the batter look curdled. Letting them warm up a bit (about 30 minutes) ensures everything mixes smoothly for the best texture in your vanilla muffins.
- Fill Like a Pro: Want all your muffins the same size and done at the same time? Use an ice cream scoop (about a 1/4 cup size) to portion the batter. It’s quick, clean, and super consistent.
- Avoid the Overbaking Trap: Set your timer for the minimum time (18 minutes) and start checking. Ovens vary! It’s much better to pull your vanilla muffins out a tiny bit early than leave them in too long. Remember: a toothpick with a few moist crumbs is perfect. Clean is good too, but crumbs mean extra moistness. Overbaked muffins are dry muffins.
- Keep Them Fresh: Let your muffins cool completely before storing. Pop them into an airtight container or zip-top bag. They’ll stay deliciously moist at room temperature for 2-3 days. For longer storage, freeze them! Wrap individual muffins tightly in plastic wrap, then place them in a freezer bag. They’ll keep for up to 3 months. Thaw at room temperature or warm gently in the microwave.
Moist Vanilla Muffins: FAQs Answered
Got questions? I’ve got answers! Here’s what people often ask about making perfect vanilla muffins with oil:
- Can I use melted butter instead of oil?
Absolutely! Swap the oil for an equal amount of melted, cooled butter. Your vanilla muffins will still taste delicious, but the texture will be slightly different. Butter makes a muffin that’s a bit more cake-like and rich, while oil guarantees maximum moistness and a more tender crumb that stays soft longer. Both are great, but oil wins for pure moisture! - Can I add chocolate chips, berries, or nuts?
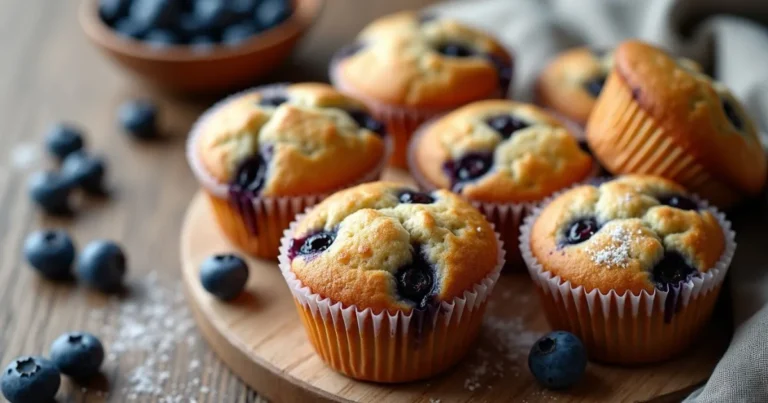
Yes! These easy vanilla muffins are the perfect base for mix-ins. Once you’ve gently folded the wet and dry ingredients together just until combined (Step 4), sprinkle in about 1 cup of your favorite add-ins. Gently fold them in just 2-3 times to distribute. Don’t overmix! Great choices: chocolate chips, fresh or frozen blueberries (toss frozen ones in a little flour first), raspberries, chopped nuts, or even dried fruit. - Why did my muffins sink in the middle? Oh no! This usually happens for two main reasons:
- Overmixed Batter: If you stirred the batter too much after adding the wet ingredients, you developed too much gluten. This makes the structure weak, and it collapses as it cools. Remember: Fold gently, lumps are okay!
- Underbaking: If the center wasn’t quite set before you took them out, the structure isn’t strong enough to hold up. Make sure they pass the toothpick test (moist crumbs are fine, wet batter is not) and spring back when lightly pressed. Oven temperature being too low can also cause this.
- Can I make mini vanilla muffins?
Definitely! Mini muffins are adorable and bake quickly. Use a mini muffin tin lined with mini paper liners. Fill each cup about 3/4 full. Bake at the same temperature (375°F / 190°C), but start checking for doneness much earlier – usually around 10-12 minutes. Use the same visual and touch tests: golden tops, springy centers. They’re perfect for little hands or a quick snack!
Enjoy Your Easy, Moist Homemade Vanilla Muffins!
See? Making unbelievably moist vanilla muffins with oil is truly simple! No fancy techniques, no waiting for butter to soften, just straightforward, delicious baking. The oil works its magic, giving you muffins that are incredibly tender, perfectly sweet, and packed with pure vanilla flavor in every bite – and they stay that way for days. It’s the easiest way to achieve bakery-style vanilla muffins right in your own kitchen.
There’s nothing quite like the smell of vanilla muffins baking in the oven, is there? And that first warm bite? Pure comfort. These classic vanilla muffins are perfect for breakfast on the go, a lunchbox treat, an afternoon pick-me-up with coffee, or a simple dessert.
Happy Baking!

