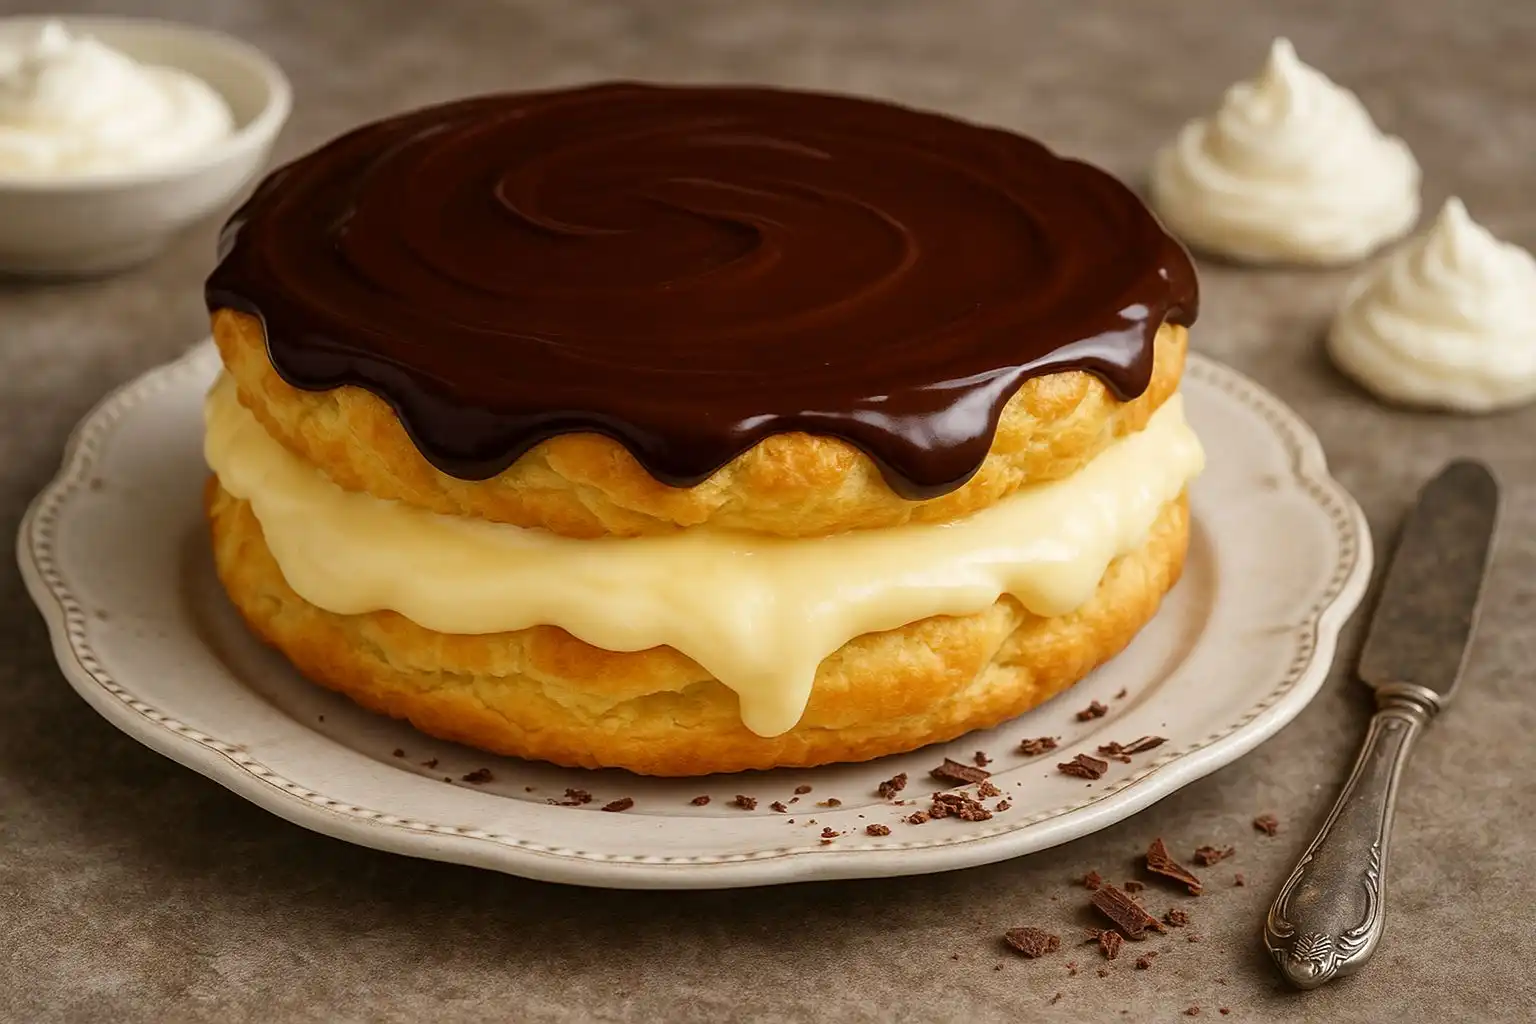
Cream Puff Cake: 5 Steps to Make the Best Dessert Ever
Why This Cream Puff Cake Beats Individual Puffs Every Time
Ever dream of cream puffs but dread piping perfect little shells? Meet your new best friend: Cream Puff Cake! This genius dessert takes all the heavenly flavors of classic cream puffs – the light, airy choux pastry, the dreamy cream filling, the rich chocolate glaze – and turns them into a simple, no-fuss layer cake. No piping bags, no uneven baking, and no stress! Just one glorious pan of pure deliciousness. Our Cream Puff Cake recipe solves all the tricky parts:
- No Piping Fuss: Spread the dough like magic!
- No Uneven Baking: One pan = perfect results every time.
- Super Easy Assembly: Layer it up – no fancy skills needed!
- Guaranteed Crowd-Pleaser: Watch it disappear at parties!
It’s the best dessert ever because:
✅ Reliability: Works perfectly every time you make it.
✅ Incredible Flavor: Tastes just like your favorite bakery treat.
✅ Total Wow Factor: Looks stunning with minimal effort.
Table of Contents
Gather Your Tools & Ingredients for Cream Puff Dessert Cake Success
Don’t worry, you probably own everything already! This Cream Puff dessert keeps it simple.
Essential Equipment You Likely Already Have
- Medium saucepan
- Whisk
- Wooden spoon or sturdy spatula
- 2-3 Mixing bowls (medium & large)
- 9×13 inch baking pan
- Electric mixer (hand or stand – super helpful but optional for whipping)
- Cooling rack
Simple Ingredients for Spectacular Flavor
Gather these easy finds for your Cream Puff Dessert Cake:
- For the Choux Pastry Base:
- 1 cup water
- 1/2 cup milk (whole or 2% is best)
- 1/2 cup (1 stick) unsalted butter
- 1/4 teaspoon salt
- 1 tablespoon granulated sugar
- 1 cup all-purpose flour
- 4 large eggs (room temperature is ideal)
- For the Luscious Filling:
- 2 (3.4 oz) boxes instant vanilla pudding mix (or chocolate!)
- 3 cups cold milk
- 1 (8 oz) container frozen whipped topping, thawed (like Cool Whip) OR 2 cups homemade whipped cream (just whip 1.5 cups heavy cream + 1/4 cup sugar until stiff peaks form)
- For the Classic Ganache Topping (Optional but SO Good!):
- 1 cup semi-sweet chocolate chips
- 1/2 cup heavy cream
Your Foolproof 5-Step Cream Puff Dessert Method
Let’s build this dreamy Cream Puff Cake! Follow these simple steps.
Step 1: Cream Puff Cake Base – Mastering the Choux Layer
- Heat It Up: Put your water, milk, butter, salt, and sugar in your saucepan. Bring it to a gentle boil over medium heat. Stir until the butter melts completely.
- Mix in Flour: Take the pan off the heat. Quickly dump in ALL the flour at once. Stir like crazy with your wooden spoon until it forms a smooth ball that pulls away from the sides of the pan.
- Cook the Dough: Put the pan back on low heat for 1 minute, stirring constantly. This cooks the flour – don’t skip it! A thin film should form on the bottom of the pan.
- Cool Slightly: Take the pan off the heat and let the dough cool for 5-10 minutes. You don’t want to cook the eggs!
- Add Eggs: Beat in the eggs ONE AT A TIME. Use your electric mixer or strong arm! Beat really well after each egg. The dough will look slippery at first but keep beating until it’s smooth, thick, and shiny.
- Spread & Bake: Spread this thick dough evenly into your ungreased 9×13 pan. Bake at 400°F (200°C) for 30-35 minutes until puffed, golden brown, and dry on top. It might look crazy puffed – that’s good!
- Cool Completely: Let the baked base cool completely in the pan on your cooling rack. This is CRUCIAL! Press the cream puff cake base down gently with a spatula if it domes a lot in the center as it cools.
Step 2: Cream Puff Cake Filling – Whipping Up Cloud-Like Perfection
- Make Pudding: Whisk the pudding mixes and cold milk together in a large bowl for 2 minutes until thick.
- Fold in Whipped Goodness: Gently fold in the thawed whipped topping OR your homemade whipped cream until just combined and fluffy. Don’t overmix!
- Spread: Spread the filling over the cooled cream puff cake base evenly. Be gentle!
Step 3: Cream Puff Cake Topping – The Decadent Finale (Optional)
- Heat Cream: Heat the heavy cream in a small saucepan until it just starts to simmer (bubbles around the edge). Don’t boil hard!
- Pour & Sit: Pour the hot cream over the chocolate chips in a heatproof bowl. Let it sit for 3-5 minutes.
- Stir Smooth: Gently stir until the chocolate is completely melted and the ganache is smooth and glossy. Let it cool for 5-10 minutes.
- Drizzle: Drizzle the ganache over your nearly finished cream puff cake filling. Tilt the pan gently to spread it if needed.
Step 4: The Crucial Chill – Patience for Perfect Texture
This step is non-negotiable! Your cream puff cake needs this time for magic to happen. Cover the pan loosely with plastic wrap or foil. Chill in the fridge for at least 4 hours, but overnight is truly BEST. This allows:
- The filling to set firmly.
- The choux base to soften slightly into that perfect cream puff texture.
- All the amazing flavors to blend together beautifully.
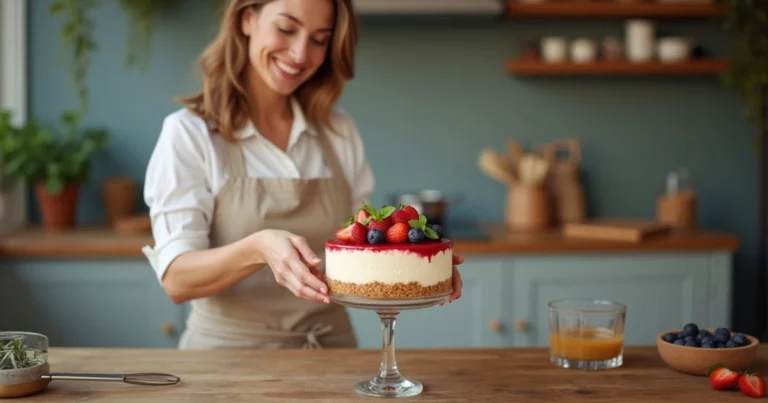
Step 5: Cream Puff Cake Grand Finale – Serving & Savoring
The moment you’ve waited for! Slice into your masterpiece! This cream puff cake is ready to shine.
- Use a sharp knife, wiping it clean between cuts for neat slices.
- Dust the top lightly with powdered sugar for a pretty finish.
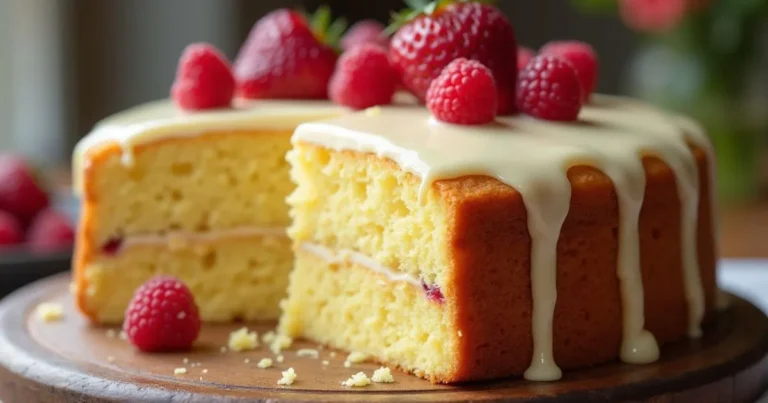
- Top individual slices with fresh berries like strawberries, raspberries, or blueberries.
Pro Tips for the Absolute Best Cream Puff Cake
Make your Cream Puff Cake foolproof with these secrets:
Avoiding a Soggy Bottom
- Cool Completely: Ensure the choux base is 100% cool before adding the filling. Warm base = soggy disaster!
- Spread Evenly: A smooth, even base layer bakes consistently.
Filling Variations to Wow Your Crowd
- Chocolate Dream: Use chocolate instant pudding instead of vanilla.
- Fruity Swirl: Gently fold 1/2 cup raspberry or strawberry puree into the filling.
- Coffee Kick: Add 1-2 teaspoons instant espresso powder to the pudding mix.
Storage & Make-Ahead Magic
- Fridge: Keep covered in the fridge for 2-3 days. Add fresh berries just before serving.
- Freezer: Freeze without fresh toppings or ganache (it can get soggy). Wrap the chilled cake tightly in plastic wrap and foil. Freeze for up to 1 month. Thaw overnight in the fridge. Add ganache/toppings after thawing.
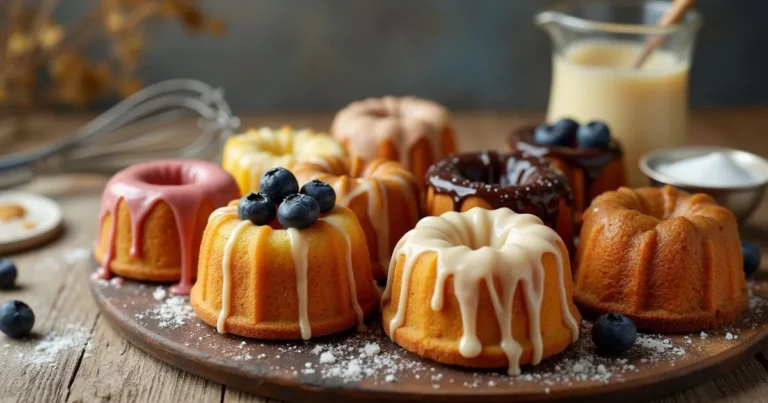
Cream Puff Cake Variations to Try Next Time
Got the basic Cream Puff Cake mastered? Try these fun twists!
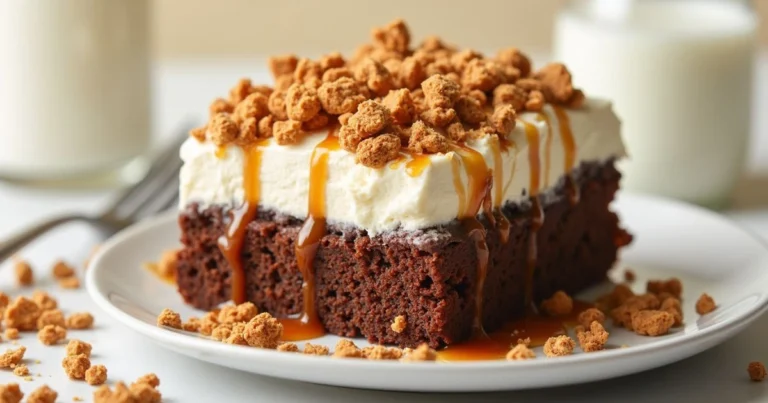
Chocolate Lover’s Cream Puff Cake
- Base: Add 2 tbsp cocoa powder to the flour for chocolate choux!
- Filling: Use chocolate pudding.
- Topping: Chocolate ganache (obviously!).
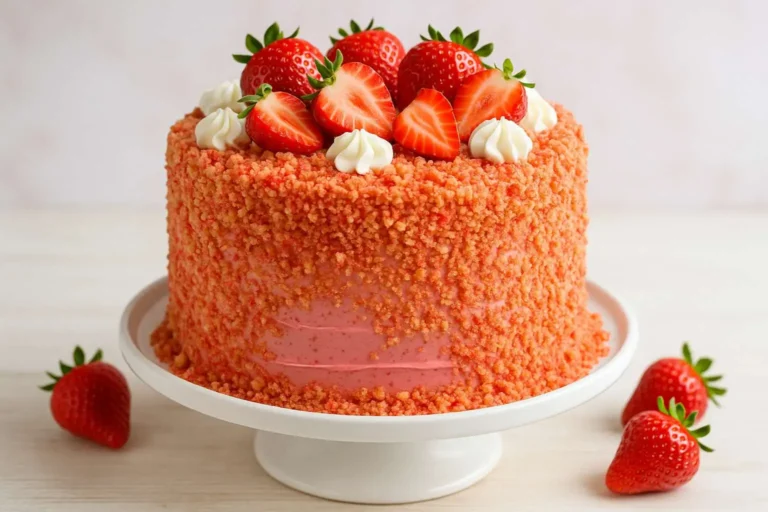
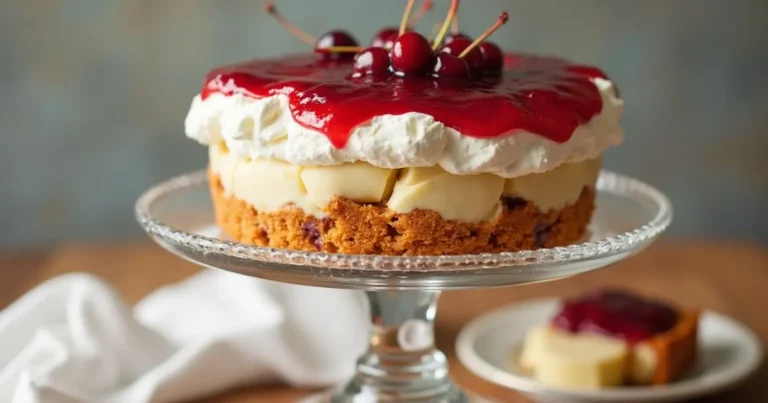
Berry Bliss Cream Puff Cake
- Filling: Fold 1 cup fresh raspberries or chopped strawberries into the vanilla filling.
- Topping: Skip ganache, top with fresh mixed berries.
Coffee Infused Cream Puff Cake
- Filling: Add 2 tsp instant espresso powder to the vanilla pudding mix.
- Topping: Make mocha ganache (add 1 tsp espresso powder to the hot cream).
Ready to Make Your Own Amazing Cream Puff Cake?
See? Making the best dessert ever doesn’t require magic tricks or pastry chef skills! With just 5 simple steps and common ingredients, you can create this show-stopping Cream Puff Cake that tastes like pure heaven. It’s the perfect easy dessert for potlucks, birthdays, holidays, or just because you deserve something truly special.
Grab your ingredients and make this dreamy cream puff cake tonight! We promise your family and friends will beg for the recipe. Got questions? Ask away! Happy baking! 🎂✨