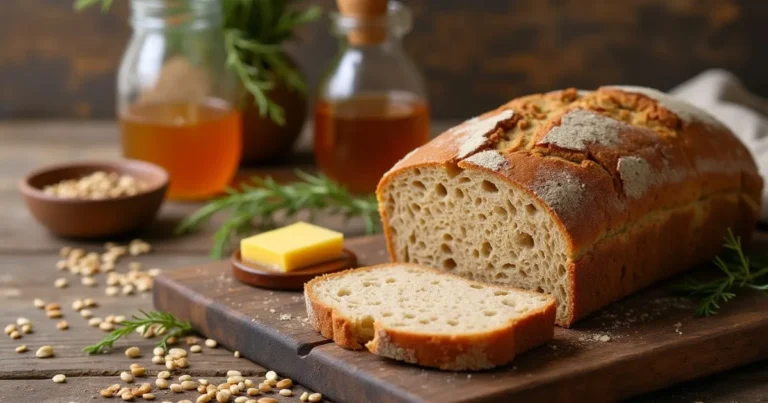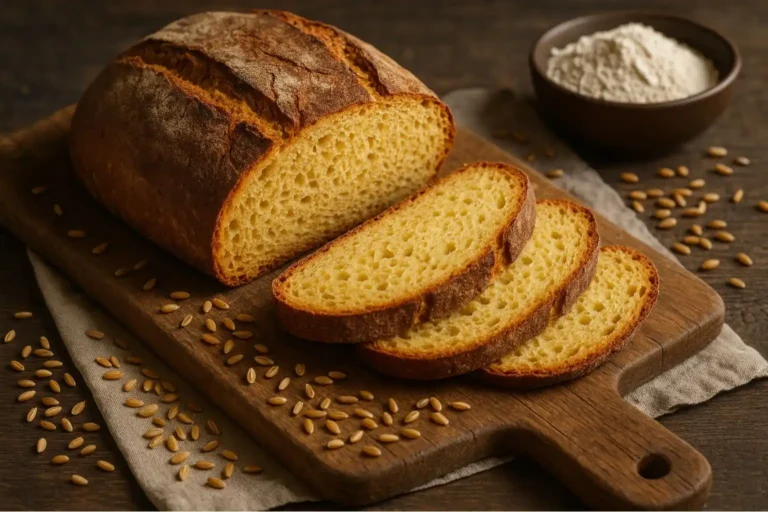
Bread Maker French Bread: How to Bake in 4 Easy Steps
Why Your Bread Maker is Perfect for French Bread
Ever dream of that crispy, golden French bread but dread the kneading and waiting? Your trusty bread maker french bread dream is about to come true! Forget the long hours of traditional methods. Your bread machine does the heavy lifting – mixing, kneading, and that first rise – all while you relax. Yes, it gives you consistent results every time and helps create that lovely, airy inside (the crumb!) that makes French bread so special. And guess what? You absolutely can make authentic, bakery-worthy bread maker french bread right in your kitchen. Let’s get started!
Table of Contents
Bread Maker French Bread: What You’ll Need
Gathering your tools and ingredients is super simple. Here’s what makes amazing bread maker french bread:
Essential Ingredients (Simple & Authentic):
- Bread Flour (3 cups): This is key! Its high protein makes your bread strong and chewy. All-purpose flour just won’t give the same crust or crumb.
- Water (1 1/4 cups, lukewarm): Around 105-110°F (41-43°C) is perfect for waking up the yeast.
- Active Dry Yeast (2 1/4 tsp): Or one standard packet. Make sure it’s fresh!
- Salt (1 1/2 tsp): Brings out all the delicious flavors.
- Sugar (1 tsp, optional): Just a pinch helps the crust turn a beautiful deep golden brown.
Your Trusty Bread Maker:
- You’ll need a standard bread machine, usually making a 1.5 lb or 2 lb loaf. Check your manual!
- The most important setting? The “Dough” cycle. Some machines even have a special “French Bread” cycle – use that if yours does! This cycle handles mixing, kneading, and the first rise only. We finish baking in the oven for that perfect crust.
Bread Maker French Bread Step 1: Master the Dough Cycle
This step is where your machine shines! Making bread maker french bread dough is foolproof.
- Add Ingredients to the Pan: Follow your machine’s manual, but generally: Pour in the lukewarm water first. Add the flour on top, covering the water. Make a small well in the center of the flour and add the yeast (keep it away from the salt initially!). Place the salt and optional sugar in separate corners of the pan.
- Select the DOUGH Cycle: This is crucial! Do not choose the full bake cycle. We want the machine to stop after the first rise.
- Press Start & Relax: Close the lid and let your bread maker work its magic! It will mix everything into a shaggy dough, knead it beautifully, and let it rise until doubled in size. This usually takes 1.5 to 2 hours. Your kitchen will start smelling amazing!
Bread Maker French Bread Step 2: Shape & Rest Like a Pro
Once the dough cycle finishes (your machine will likely beep!), it’s time for your hands-on moment. Making great bread maker french bread is all about gentle handling.
- Gently Remove the Dough: Open the lid. You’ll see a lovely risen dough ball. Carefully tip it out onto a very lightly floured surface. Be gentle – we don’t want to squash all the air bubbles!
- Punch Down & Shape: Give the dough one soft punch to deflate it. Now, shape it! For classic French bread:
- Baguette Style: Gently pat the dough into a rectangle. Fold the long sides towards the center, then roll it up tightly starting from one long end. Pinch the seam closed. Taper the ends slightly.
- Oval Loaf (Boule): Gently shape the dough into a smooth ball by tucking the edges underneath.
- Second Rise (Proofing): Place your shaped dough onto a baking sheet lined with parchment paper (lightly dusted with cornmeal if you like) or directly onto a baking stone. Cover it loosely with lightly oiled plastic wrap or a clean kitchen towel. Let it rest in a warm, draft-free spot for 30-45 minutes. It should puff up nicely again.
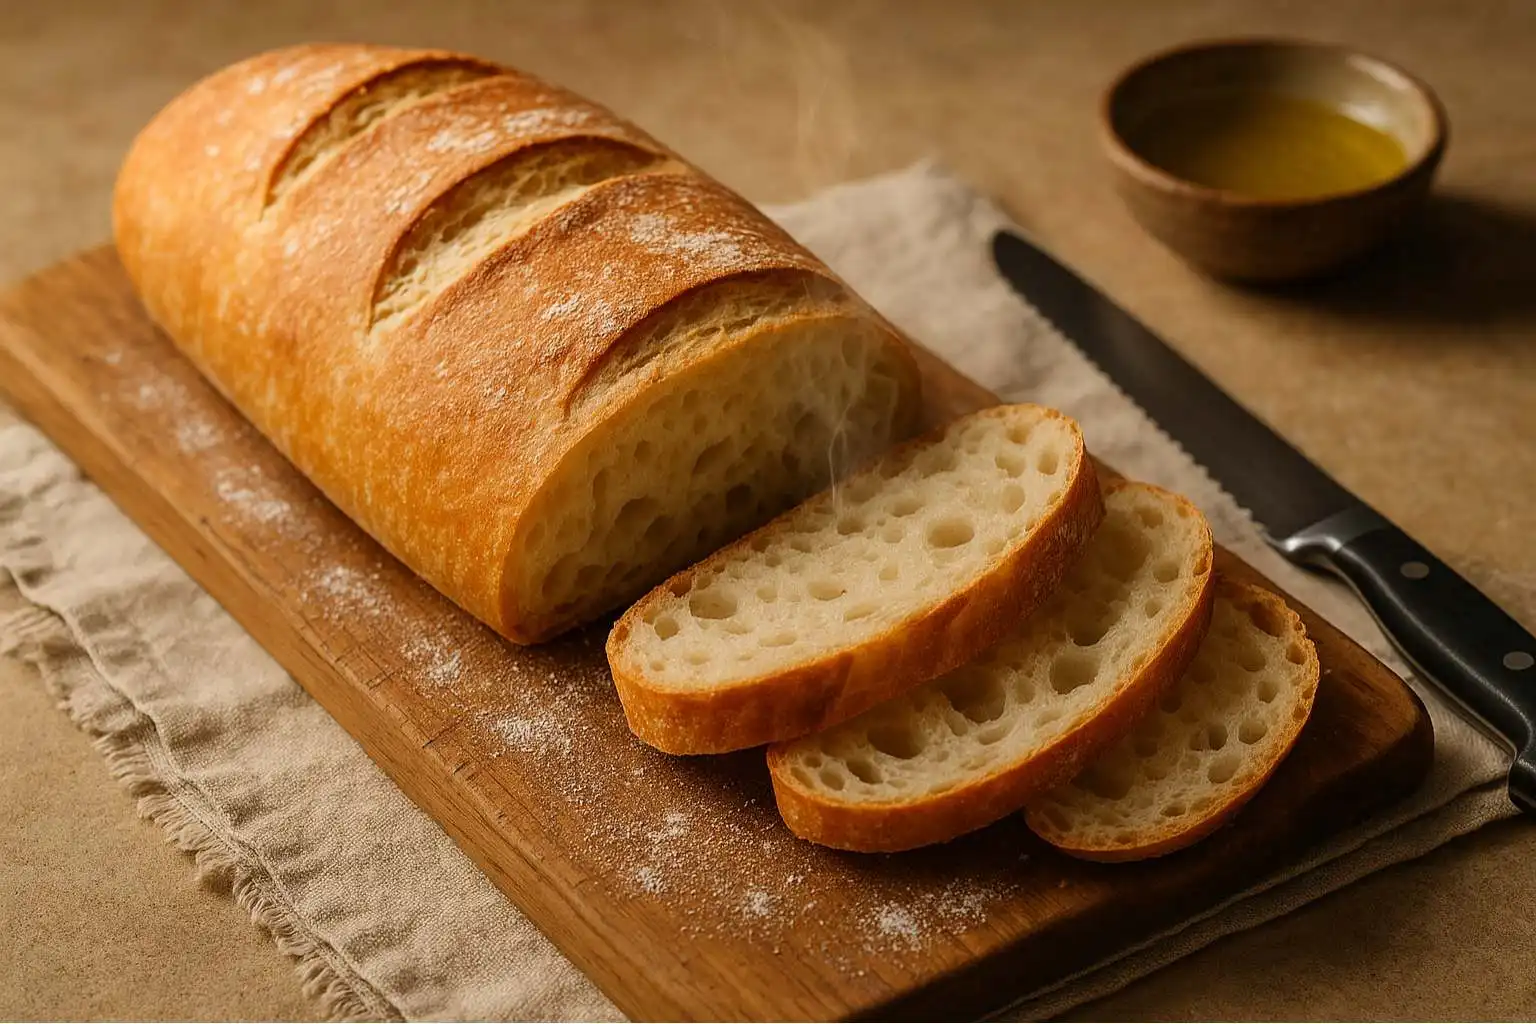
Bread Maker French Bread Step 3: Score & Steam for Perfection
This step is the secret to that gorgeous, professional look and crispy crust on your bread maker french bread!
- Preheat & Prep: About 20 minutes before your dough finishes its second rise, preheat your oven to a very hot 450°F (230°C). Place an empty metal baking pan (like a roasting pan) on the very bottom rack.
- Score the Dough: Right before baking, use a very sharp knife, razor blade, or bread lame to make 3-5 diagonal slashes (about 1/4 inch deep) across the top of your loaf. This isn’t just decoration! It controls how the bread expands in the oven (called “oven spring”) so it doesn’t burst randomly.
- Create Steam (The Crust Secret!): Carefully pour about 1 cup of hot water into the preheated empty pan on the bottom rack just before you put your bread in. CLOSE THE OVEN DOOR QUICKLY! The steam creates a moist environment that helps the crust stay soft initially, allowing the bread to rise fully, and then sets into that incredible, crispy, glossy crust we love. You can also quickly spritz the oven walls and loaf with water from a spray bottle right after adding the loaf.
Bread Maker French Bread Step 4: Bake to Golden Glory
It’s showtime for your bread maker french bread!
- Bake: Carefully place your baking sheet (or slide your loaf on parchment onto the baking stone) onto the middle oven rack. Immediately close the door to trap the steam. Bake for 20-30 minutes.
- Check for Doneness: Around the 20-minute mark, start checking. Your bread maker french bread is done when:
- The crust is a deep, rich golden brown (almost chestnut color).
- It sounds hollow when you firmly tap the bottom of the loaf. (Careful, it’s hot!).
- Cool: This is super important! Transfer your beautiful loaf to a wire rack immediately. Let it cool completely (at least 1 hour!) before slicing. Cutting into hot bread makes the inside gummy. Be patient – it’s worth it!
Pro Tips for Unbeatable Bread Maker French Bread
Take your bread maker french bread from good to incredible with these expert tricks:
Achieving the Perfect Crust:
- Baking Stone is King: Preheat a baking stone with your oven. Baking your loaf directly on the hot stone gives the bottom crust incredible crunch.
- Steam is Non-Negotiable: Don’t skip the steam step! It makes the biggest difference in crust texture and shine. Water is perfect; avoid egg wash for authentic French bread.
- Cornmeal Dusting: Sprinkle your baking sheet or peel with cornmeal before placing the shaped dough. It adds a tiny bit of extra texture and prevents sticking.
Troubleshooting Common Hiccups:
- Dense or Heavy Loaf?
- Check your yeast expiration date.
- Was your water too hot (killed yeast) or too cold (didn’t activate yeast)?
- Did you accidentally use all-purpose flour? Bread flour is essential.
- Did you skip the second rise or let it rise too long (overproofed)?
- Pale Crust?
- Did you forget the optional sugar? It aids browning.
- Was your oven hot enough? Use an oven thermometer to check.
- Did you skip the steam step? Steam promotes browning.
- Tough Crust?
- Did you wrap the bread before it cooled completely? Trapped steam softens the crust. Always cool fully on a wire rack first.
- Did you bake it too long?
Slice, Savor, and Share Your Homemade Triumph!
Congratulations! You just baked stunning, authentic bread maker french bread! That incredible aroma filling your kitchen? Pure victory. Once it’s completely cool, grab your sharpest serrated knife and slice in. Hear that crisp crust crackle? See that beautiful, airy crumb inside? Slather on some good butter – that first bite is pure magic.
This bread is perfect for:
- Dipping into soups and stews.
- Making unbeatable sandwiches.
- Serving alongside cheese and charcuterie.
- Simply enjoying with a generous swipe of butter.
We are SO excited for you! Did your loaf turn out beautifully golden? Did you discover a new tip? We’d absolutely love to hear about your bread maker french bread adventures! Share your results, your photos, or any questions you have right down in the comments below. Happy baking!