5 Easy Buttermilk Cake Recipes for Beginners: Start with This Classic Moist Marvel!
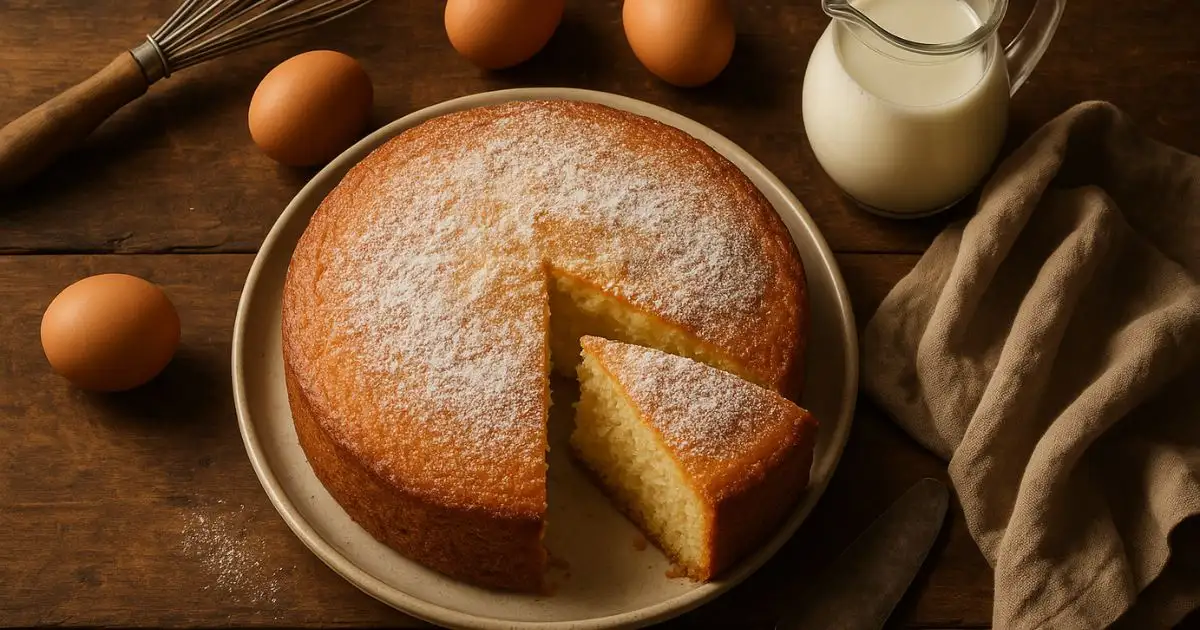
The magic of a classic buttermilk cake recipes is slicing into a cake so tender it practically sighs, with a crumb so moist it clings lovingly to your fork, and a flavor so perfectly balanced between sweet vanilla and a subtle, delightful tang. Forget complicated techniques and finicky ingredients – this is baking bliss made beautifully simple!
Table of Contents
Introduction:
Buttermilk cake is pure homemade comfort magic. This unsung hero delivers incredible moistness and flavor thanks to humble buttermilk – reacting with baking soda for a light, airy texture that improves by day two! Forget dry pound cakes; this is its effortlessly moist, tangy cousin. Simple to make (mix, pour, bake!), it’s perfect for weeknights or special dinners. Your family will beg for it, and it’s a blank canvas for glazes, fruit, or frostings. Ditch the intimidation – baking joy starts here! Ready to unlock this foolproof crowd-pleaser?
What is This “Buttermilk Cake Recipes” Anyway?
Why “buttermilk cake recipe”? Sounds fancy or intimidating, like Great Aunt Mildred’s weekend project? Don’t panic! The name just shouts its MVP: BUTTERMILK! Historically, it was the tangy liquid leftover from churning butter. Clever bakers found this “sour milk” worked magic – tenderizing cakes like nothing else! Seriously, would “Mildly Sour Dairy Liquid Cake” sell you? Nope. “Buttermilk Cake” wins! It promises: “Super moist, incredibly tender, with a lovely tang that makes vanilla sing!” Proving the old adage, “the way to a person’s heart is through their stomach” – especially when that stomach gets this slice of perfection. Ready to see the magic happen? Grab your bowls!
Why You’ll Absolutely Adore This Buttermilk Cake Recipe:
This isn’t just another cake; it’s a revelation in simplicity and flavor. Here’s why it will become your new baking bestie:
- Unbeatable Moisture & Tenderness: This is the crown jewel! The buttermilk cake recipe delivers an incredibly soft, velvety crumb that stays moist for days. The buttermilk’s acidity works wonders with the leavening, creating a texture that’s light yet satisfyingly rich. Say goodbye to dry, crumbly cake disasters forever!
- Beginner-Friendly & Budget-Savvy: No fancy skills or expensive ingredients required! This recipe uses pantry staples you likely already have (flour, sugar, eggs, butter), plus that one special carton of buttermilk (which is surprisingly affordable). Skip the bakery mark-up and create a far superior dessert at home for a fraction of the cost. It’s proof that impressive baking doesn’t need a hefty price tag.
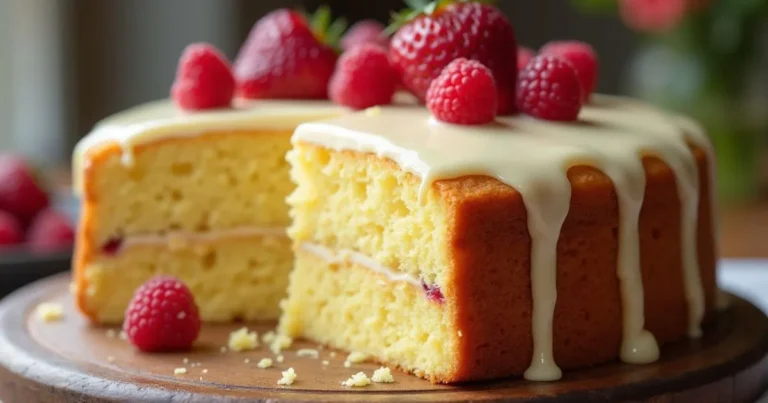
- Flavorful & Versatile Canvas: The base cake itself is a dream – subtly sweet with a hint of tang from the buttermilk and beautiful vanilla notes. But the real fun begins with toppings! Drizzle it with a simple vanilla glaze while warm, frost it luxuriously with chocolate buttercream, pile on fresh berries and whipped cream, or simply dust it with powdered sugar for elegant simplicity. It’s the perfect partner for your favorite flavors, much like our popular [Link: Classic Vanilla Pound Cake], but with that signature buttermilk tenderness. This cake adapts to any occasion effortlessly.
Ready to experience the magic of perfectly moist, easy cake? Let’s get baking!
How to Make This Easy Buttermilk Cake Recipe:
● Quick Overview:
This buttermilk cake recipe is the epitome of simple, satisfying baking. It delivers a supremely moist and tender vanilla cake with a delightful hint of tang, all in about an hour from bowl to table (including baking time!). The method is straightforward – a classic creaming method – resulting in a reliable, crowd-pleasing dessert perfect for any day of the week. Get ready for heavenly aromas filling your kitchen!
● Key Ingredients for Buttermilk Cake Recipe:
- 2 cups (250g) All-Purpose Flour: Spooned and leveled for accuracy.
- 1 ½ cups (300g) Granulated Sugar: Sweetens and helps create tenderness.
- ½ cup (113g) Unsalted Butter, softened to room temperature: Crucial for creaming. Don’t substitute margarine for best flavor/texture.
- 2 Large Eggs, room temperature: Provide structure and richness.
- 1 cup (240ml) Buttermilk, room temperature: The STAR! Full-fat is best for maximum moisture and tang. (See Tips for substitutions).
- 2 teaspoons Pure Vanilla Extract: For that classic, warm flavor.
- 1 teaspoon Baking Soda: Reacts with the buttermilk for rise.
- ½ teaspoon Baking Powder: Adds extra lift.
- ½ teaspoon Salt: Balances the sweetness and enhances all flavors.
● Step-by-Step Instructions:
- Prep & Preheat: Position your oven rack in the center. Preheat oven to 350°F (175°C). Generously grease and flour a 9×13 inch baking pan, or line it with parchment paper for easy removal. Ensure your butter, eggs, and buttermilk are at true room temperature (about 1 hour out of the fridge) – this is key for a smooth, well-emulsified batter and even baking.
- Whisk Dry Ingredients: In a medium bowl, whisk together the flour, baking soda, baking powder, and salt. Set aside.
- Cream Butter & Sugar: In a large bowl using an electric mixer (handheld or stand mixer fitted with paddle attachment), beat the softened butter on medium speed for about 1 minute until smooth and creamy. Gradually add the granulated sugar. Beat on medium-high speed for 3-5 minutes, until the mixture is very light, fluffy, and almost pale in color. Scrape down the sides of the bowl as needed. This step incorporates air, crucial for lift!
- Add Eggs & Vanilla: Beat in the eggs, one at a time, mixing well after each addition until fully incorporated. Scrape down the bowl. Beat in the vanilla extract.
- Combine Wet & Dry (Alternately): With the mixer on low speed, add about one-third of the dry ingredients to the butter mixture, mixing just until combined. Immediately pour in half of the buttermilk, mixing until just blended. Repeat with another third of the dry ingredients, then the remaining buttermilk, and finally the last third of the dry ingredients. Mix only until the flour disappears – DO NOT OVERMIX. Overmixing develops gluten, leading to a tough cake. A few small lumps are okay; they’ll bake out.
- Pour & Bake: Pour the batter into your prepared pan. Use a spatula to spread it evenly into the corners and smooth the top. Tap the pan gently on the counter once or twice to release any large air bubbles.
- Bake: Place the pan in the preheated oven. Bake for 30-40 minutes, or until a wooden skewer or toothpick inserted into the center of the cake comes out clean or with just a few moist crumbs attached. The top should be golden brown and spring back lightly when touched.
- Cool: Remove the cake from the oven and place the pan on a wire rack. Allow it to cool in the pan for at least 30 minutes before adding a glaze or frosting. If serving plain or dusting with sugar, you can let it cool completely in the pan.
What to Serve With Your Buttermilk Cake:
This versatile cake shines on its own but loves company! Here are perfect pairings:
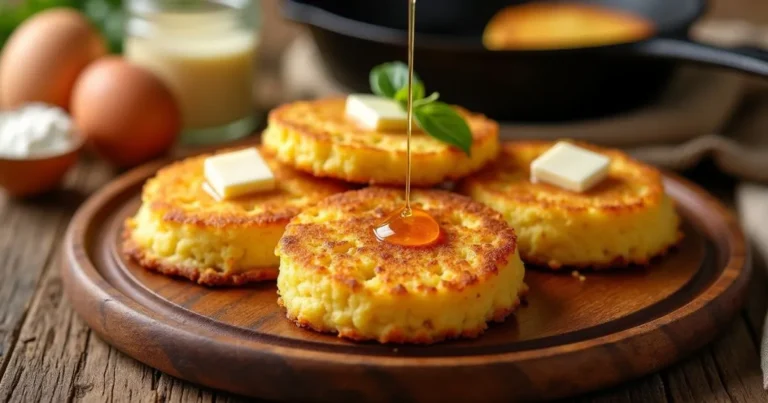
- Classic & Simple: A dusting of powdered sugar or a drizzle of simple vanilla glaze (powdered sugar + milk/cream + vanilla).
- Fruit Fiesta: Pile high with fresh seasonal berries (strawberries, raspberries, blueberries), sliced peaches, or a warm berry compote. Add a dollop of lightly sweetened whipped cream or vanilla ice cream.
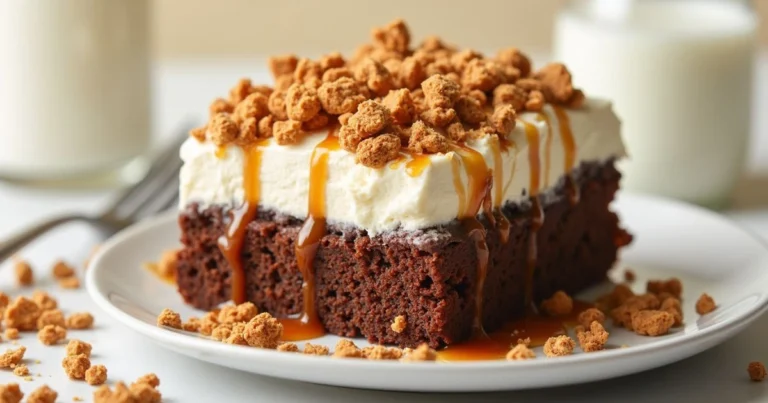
- Chocolate Indulgence: Frost generously with classic chocolate buttercream, chocolate ganache, or a simple chocolate glaze.
- Coffee Break Bliss: Serve slightly warm slices with a hot cup of coffee or tea. The tang of the cake complements coffee beautifully.
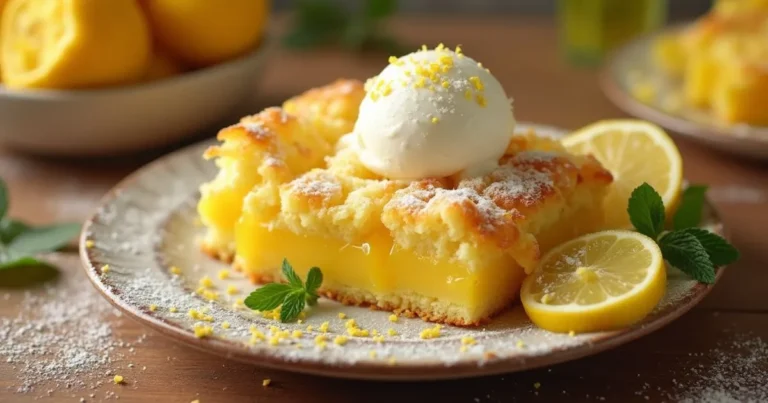
- Elegant Touch: Pair with a scoop of homemade lemon curd or a berry coulis for a restaurant-worthy dessert.
Top Tips for Perfecting Your Buttermilk Cake Recipe:
- Room Temperature is Non-Negotiable: Seriously! Cold ingredients don’t emulsify properly, leading to a dense or curdled batter. Plan ahead.
- Measure Flour Correctly: Spoon flour into your measuring cup and level it off with a knife. Scooping directly packs the flour, leading to a dry cake.
- Don’t Skimp on Creaming: Creaming the butter and sugar for the full 3-5 minutes incorporates essential air. Your mixture should look noticeably lighter and fluffier.
- Alternate Dry & Wet: Adding the flour and buttermilk in batches prevents the batter from becoming tough (overmixing flour) or curdling (adding too much liquid at once to the butter).
- STOP Mixing When Combined: As soon as you see the last streaks of flour disappear, stop mixing. Overmixing = gluten development = tough cake.
- Buttermilk Substitute: No buttermilk? Make your own! Place 1 tablespoon of white vinegar or lemon juice in a measuring cup. Add enough regular milk (whole or 2% is best) to reach the 1 cup line. Stir and let sit for 5-10 minutes until slightly thickened and curdled. Use as directed.
- Test for Doneness Early: Ovens vary. Start checking at 30 minutes. The cake is done when a tester comes out clean or with moist crumbs, not wet batter.
- Cool Before Frosting: Applying glaze or frosting to a hot cake will cause it to melt and slide right off. Patience!
Storing and Reheating Your Buttermilk Cake:
- Room Temperature (Unfrosted/Glazed): Store tightly covered (plastic wrap or an airtight container) at room temperature for up to 3 days. The buttermilk helps it stay moist!
- Room Temperature (Frosted with Buttercream): Can sit covered for 1-2 days, depending on your kitchen temperature. If very warm, refrigerate.
- Refrigerator (Frosted or with perishable toppings): Store tightly covered in the refrigerator for up to 5 days. Let slices come close to room temperature before serving for best texture and flavor.
- Freezing (Excellent Option!): This cake freezes beautifully! Wrap the completely cooled, unfrosted cake tightly in plastic wrap, then again in aluminum foil. Freeze for up to 3 months. You can also freeze individual slices. Thaw overnight in the refrigerator or at room temperature for a few hours before frosting/serving.
- Reheating: While delicious at room temp, a quick warm-up is lovely! Place individual slices on a microwave-safe plate and microwave for 10-15 seconds max. You can also warm slices in a preheated 300°F (150°C) oven for 5-10 minutes.
There you have it! Your ultimate guide to mastering the simple yet spectacular buttermilk cake recipe. This isn’t just a cake; it’s a baking confidence booster, a guaranteed crowd-pleaser, and a testament to how incredible humble ingredients can be. Its moist, tender crumb and versatile nature make it a recipe you’ll return to time and time again. So, preheat that oven, grab your buttermilk, and get ready to bake pure, comforting magic. Don’t forget to share your beautiful creations in the comments below – we can’t wait to see them! Happy Baking!